3 Steps to Starting or Getting Unstuck in Surface Pattern Design
If you’re new to surface pattern design or feeling stuck and unsure what to do next, I want you to know this first:
You don’t need to be an expert.
You don’t need a full portfolio.
You don’t need to have it all figured out yet.
Every artist who now licenses their work, collaborates with brands, or creates consistent creative income started exactly here with curiosity, overwhelm and a whole lot of questions.
The most helpful way to begin isn’t by doing everything at once.
It’s by following a simple, repeatable rhythm:
Observe → Create → Share
This framework brings clarity, focus and momentum especially when things feel big. Let’s walk through it together.
Step 1: Observe
(This is where all good design starts)
Before you create, spend intentional time noticing two things:
what you’re naturally drawn to and what you see in the market.
Look at:
Styles you love (vintage, modern, playful, minimal, etc.)
Colors you return to again and again—and that sell well
Themes you enjoy painting or sketching
Brands and products you admire
Patterns you notice on store shelves or in online shops
Examples:
You realize you’re consistently drawn to soft florals and muted, earthy color palettes
You notice stripes, small-scale prints, or gingham showing up across fabric and stationery
You begin to see how stores market the next season months before it arrives
This step removes the guesswork. It gives your creativity direction and helps you decide what’s actually worth your time learning and creating.
Step 2: Create with Intention
(Keep it simple)
Now let what you observed guide what you make.
At the beginning, you don’t need a full collection or complex repeats. One thoughtful piece at a time is enough then you build from there.
Examples:
Paint or draw one motif and turn it into a simple repeat
Create one pattern and explore it in 2–3 colorways
Build a small, cohesive set (hero pattern + coordinate + blender) instead of many unrelated designs
The goal here isn’t perfection. It’s learning by doing.
Every piece you create builds skill, confidence, and future opportunity.
Step 3: Share Your Work
(Even before you feel ready)
This is the step many artists skip but it’s where growth truly begins.
Sharing helps you:
Build confidence
Practice presenting your work
Allow the right people and opportunities to find you
Examples:
Share one finished pattern mockup
Share a simple peek into your process
Reuse the same artwork across Instagram, Pinterest and your portfolio
Your work doesn’t need to be everywhere. It just needs to be visible somewhere with intention.
Bonus: A Simple 3-Post Content Strategy
If sharing feels intimidating, try this gentle sequence using one piece of artwork:
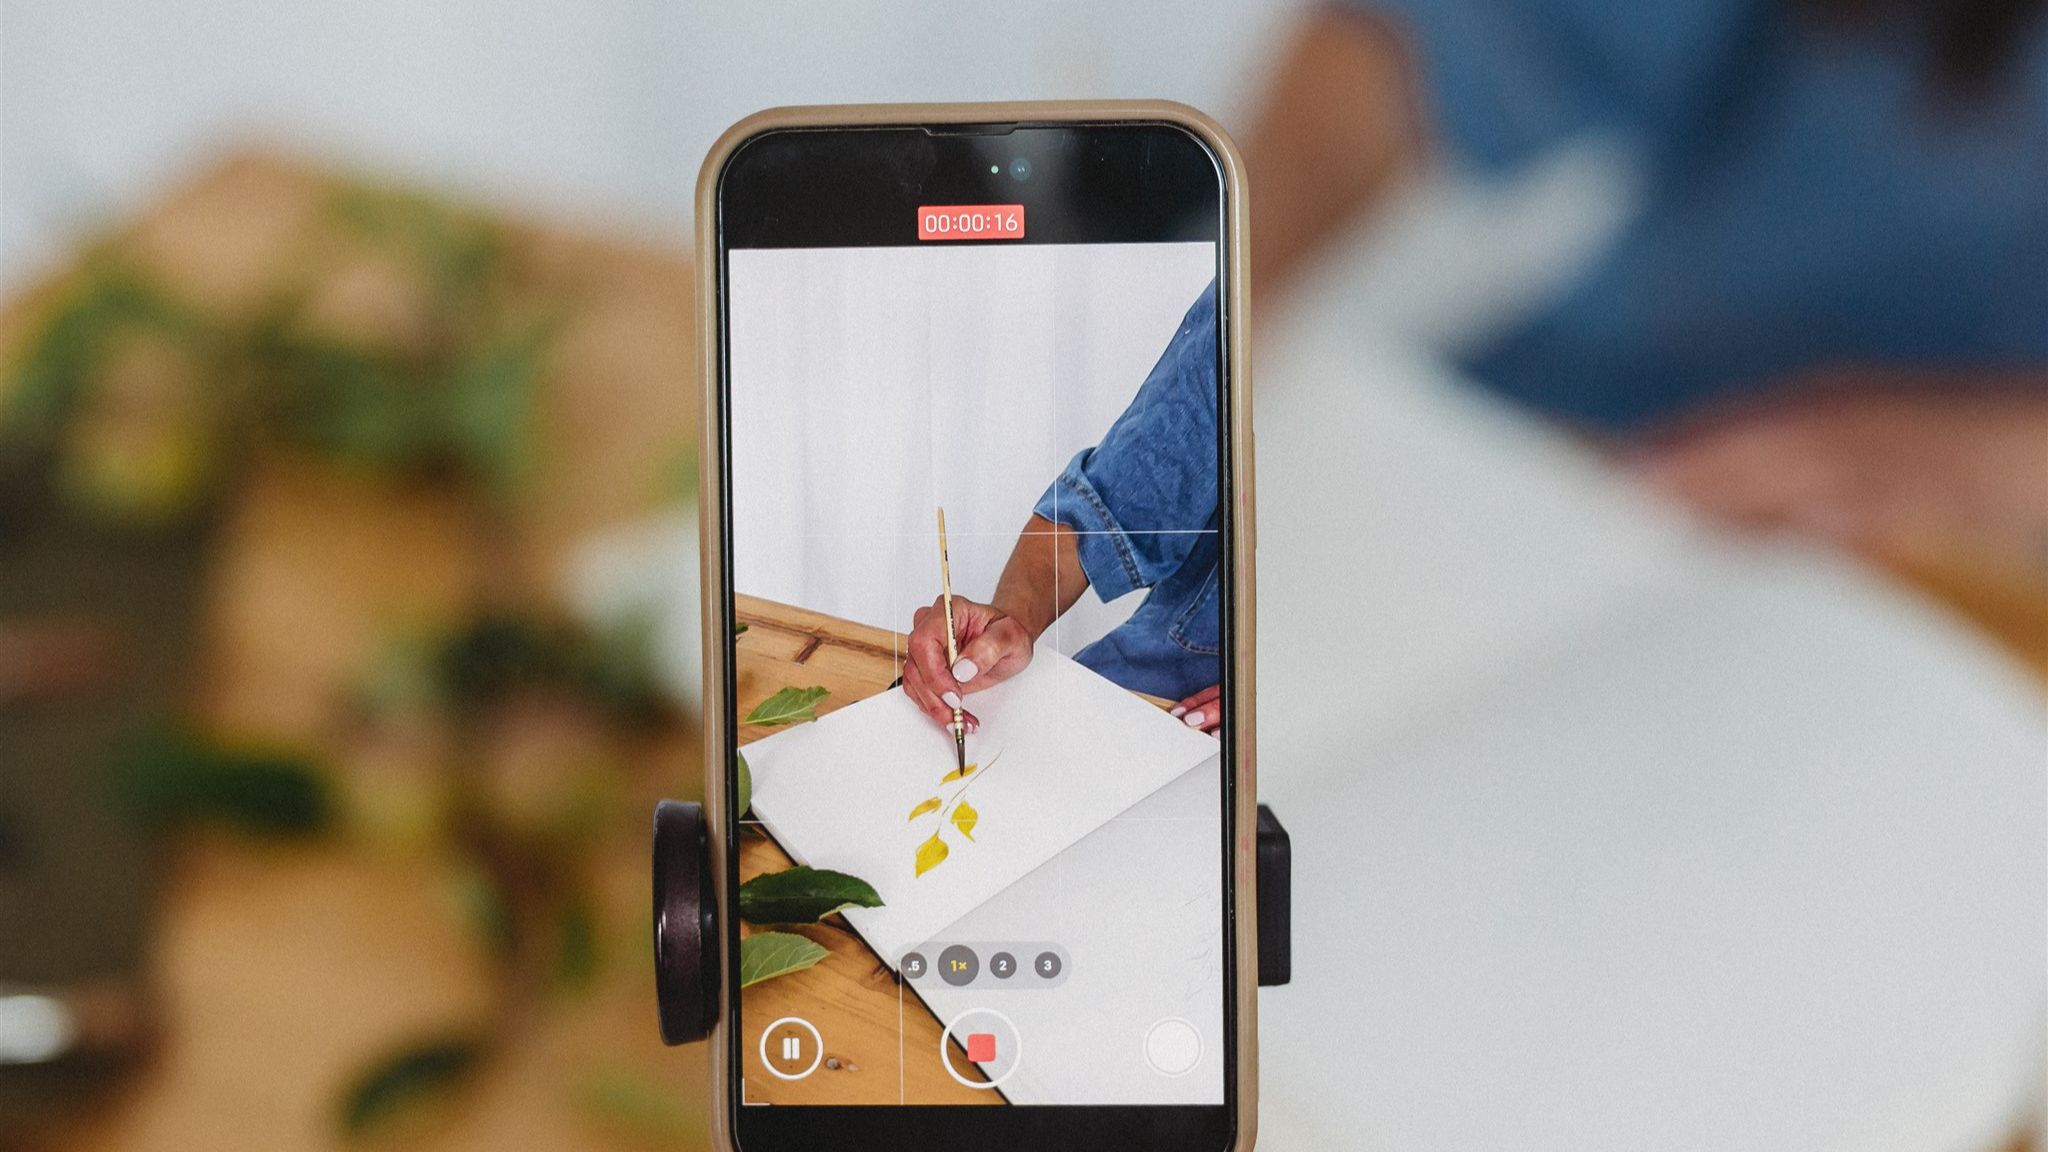
- Create a short reel showing a peek into your process
- Share a mockup of that artwork turned into a pattern on a product you envision it living on
- Create a carousel that includes:
A glimpse of your process
A flatlay of the final artwork
Your pattern repeat (possibly in a few colorways)
The mockup showing the design on a product
This approach builds connection and helps brands clearly imagine your art on their products.
To make this even easier, I’ve added a new January mockup designed to help you share your work intentionally without creating anything new. One pattern or piece of art, presented clearly, is enough to create momentum.
From My Studio to Yours
(Or the kitchen table, where I started too)
If surface pattern design feels big, let it start small.
Observe what pulls you in.
Create one thing at a time.
Share in a way that feels doable.
That’s the step-by-step path and it works!
I’m cheering you on as you grow, one brave choice at a time (including choosing rest and play).
May this be a year of steady growth, aligned decisions and creating work you’re proud to put into the world.

p.s. Want weekly encouragement, creative tips and resources like a custom monthly mockups? Join Studio Notes Here🤎
Let's stay connected!
join Studio Notes for latest news, inspiration and resources